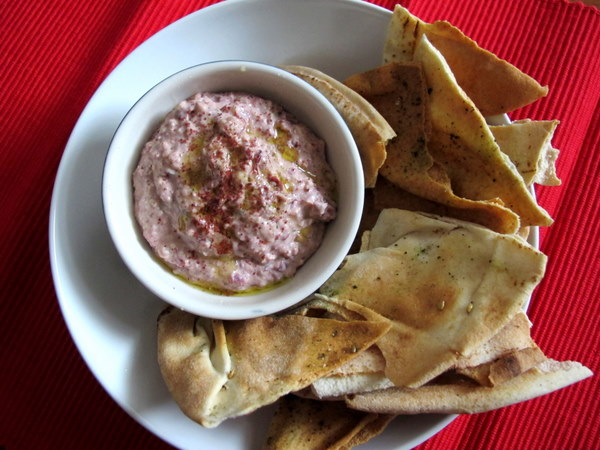
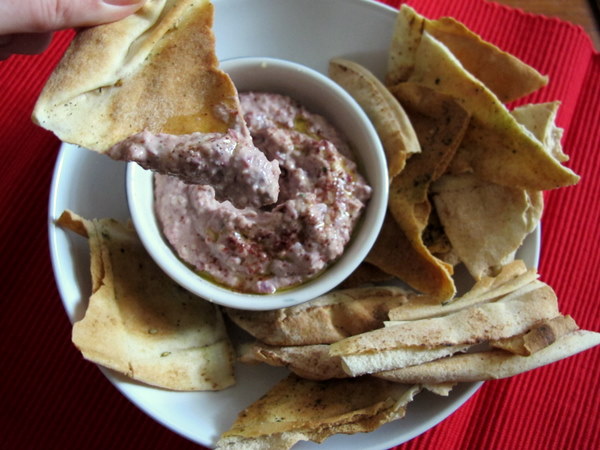
Home made Hummus. It’s one step up from buying a tub of dip and a box of crackers, and yet somehow, platingt up seems so much more decadent, like a special occasion. People don’t generally expect home-made snacks, as shop-bought snacks are neither rare nor expensive nor difficult to come by.
This recipe came from a supermarket magazine, either a Coles or Woolworths one (I’m sorry, I can’t recall, I only have the clipping). It never fails. It’s great with pita shards or carrot sticks if you’re feeling particularly virtuous. I’ve served it here with some awesome Multigrain Struan that I made in a Brasserie Bread Class the other day.
You could soak dried chick peas (it makes the hummus creamier). You could add coriander (it adds complexity). You could use lemon instead of limes (it’s a tad more exotic). But sometimes, isn’t it nice to serve up something plain, simple, spur-of-the-moment and yet somehow impressive? Classics are often classics for a reason.
Quick tip: use middle eastern tahini/tahina rather than the rock solid stuff my mum used to buy in health food stores. It’s often more expensive than ‘anglo’ tahini (is there such a thing?) but it’s much creamier. Just give it a stir, it’s infinitely more stirrable as well.
Piss-Easy Hummus
1 tin of chick peas, undrained
The juice of one lemon
1 Tablespoon Tahini
1 garlic clove, quartered
1-2 Tablespoons extra virgin olive oil
A food processor or immersion blender
Process the chickpeas with half their liquid and all other ingredients. Serve drizzled with olive oil and sprinkled with paprika.
Ever had an impromptu gathering? Inviting people to stay for dinner seems like a grand idea after a few glasses of wine. As you traipse merrily into what passes for a kitchen at you price point and browse through what could be considered a pantry in the broad sense of the word, it still seems like an ok idea. It isn’t until you open the fridge and you eyes settle on its only contents: a shrivelled bunch of buk choy and half a tub of greek yogurt that you realise there isn’t anything in your house that a normal person would consider dinner. And that’s when you panic. Or have another glass of wine.
It’s in these situations that a well-stocked pantry, although seemingly bereft of food can save the day. Tins of chick peas, oils, spices and some ancient pita bread from the freezer can come together so that you have something resembling those wanky chucky dips and pita chips that cost about $5 a pop in the supermarket.
But the truth is, at impromptu gatherings no one cares what they eat. When people weren’t expecting a meal, anything you give them is a bonus. This recipe has saved me many a time in such situations. It’s a great snack to crunch on while you peruse the takeaway pizza menu and open that next bottle of vino…
Pita Shards
2-3 pita bread
Olive oil
Salt
Za’atar (use dried oregano if you can’t find za’atar)
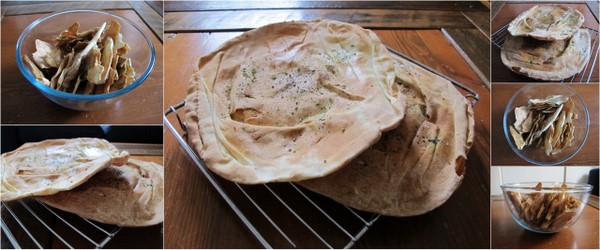
Turn on the oven to a reasonable temperature. Spray or brush one side of each pita with oil, sprinkle liberally with salt and za’atar and place, topping side up in the oven. Bake about 5 minutes. When dried but not too brown, turn over, spray/brush and sprinkle again and cook the other side.
Repeat with all pitas. When they are cool, smash them into shards. Store in an airtight container, not that you’ll have any leftovers.
Chunky Three Bean Dip
In a food processor, place:
About ½-1 cup salted cashews (or add some salt if they’re raw). Most nuts will work.
2 cloves of garlic, roughly chopped
A small handful of parsley (optional)
Blend until cashews are fine but still have texture.
Add:
1 can 3 bean mix (drained) – you can really use any can of beans you like
The juice of half a lemon
About a teaspoon of ground sumac
A slosh of extra virgin olive oil
Blend until thick and creamy.
At this point, taste the mixture. It’s probably too garlicky. I would add, while the processor is running:
2 spoonfulls of greek yogurt or sour cream if you don’t have any.
Cracked pepper
More olive oil
A dash of balsamic vinegar
A pinch of sugar or a teaspoon
Blend for a bit. Just make sure the mix stays thick, almost stiff and all will be dandy.
Do you have a dish that’s such a staple in your repertoire that you assume you’ve already cooked it for everyone you know? One that’s renowned all over town, prepared for every special occasion? Or used to be, back in the day. ‘You’ve tried mum’s eggplant dip, haven’t you?’ my boyfriend has been asking me for the past 5 years. No. I. HAVEN’T. Ever! Until now.
I was very curious about this magical dip that made my boyfriend sigh at every other eggplant dip I’d ever seen him try. We could be eating the smokiest, most luscious baba ganouj in the world and no matter how amazing I thought it was, he’d say ‘Yeah, but it’s not as good as mum’s eggplant dip.’ Sigh. But then I’m sure we all have our family recipes that make all other versions pale in comparison in our eyes…
The worst part, especially when I was a vego, was never having tried this legendary concoction. So when I started writing Corridor Kitchen I was determined to get my boyfriend’s mum to prepare her Israeli Salat Hatzilim, made of mashed grilled eggplants, homemade mayo and garlic so that I would finally get a taste. And I’ve gotta say that it lived up to the hype.
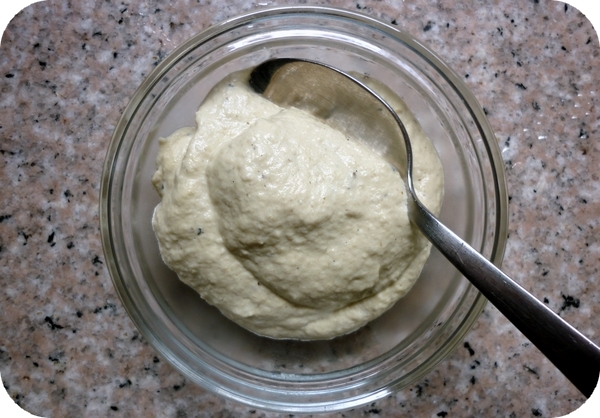
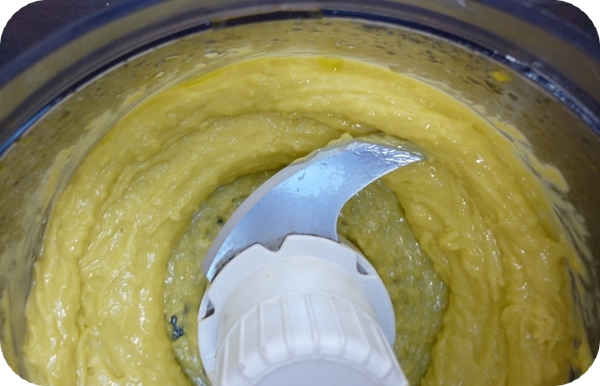
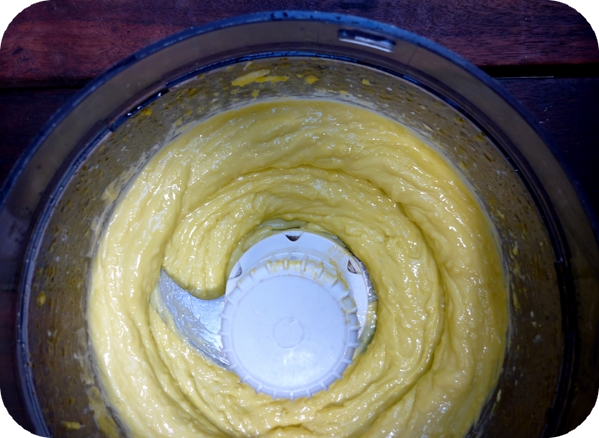
When it was originally described to me, I don’t think I realised just what an important role the mayo would play in the overall flavour and texture or the dip. It makes it creamy and lush and the eggplant itself, grilled over open flame is smokier and more pungent than I could ever have thought possible. This dip will wow your guests and is totally worth the effort.
Salat Hatzilim
1 eggplant
1 egg yolk
Pinch salt
1/3 – ½ cup canola oil
A splash of water
1-2 Tbsp lemon juice
3-4 cloves garlic, grated
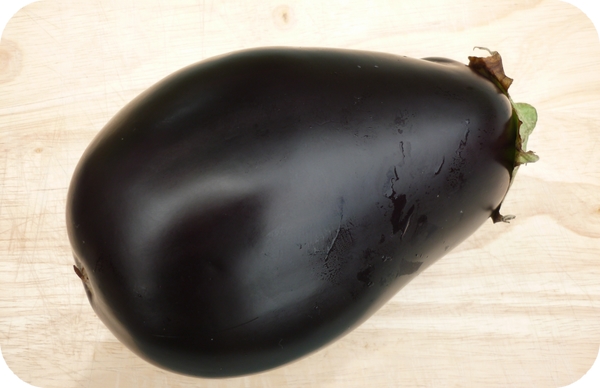
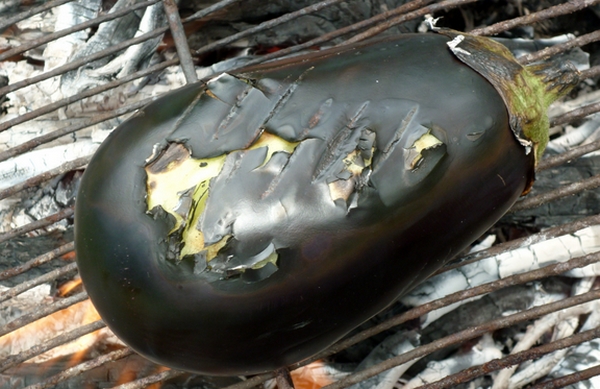
Over a fire that is starting to die down (a combination of flames and embers), cook the eggplant, turning until blackened and blistered on the outside and cooked all the way through. Alternatively, you can cook it over a gas burner like this.
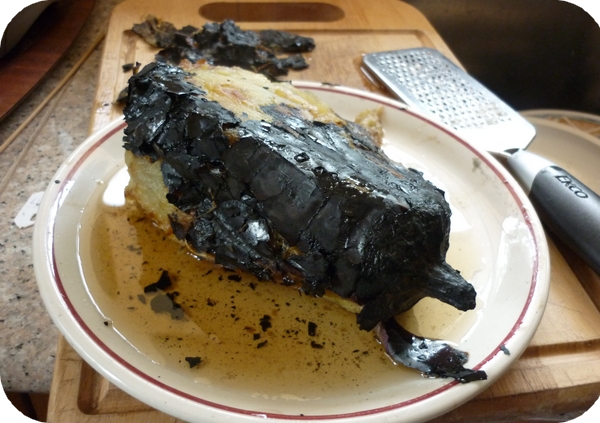
Leave eggplant to cool slightly and then peel off all the skin.
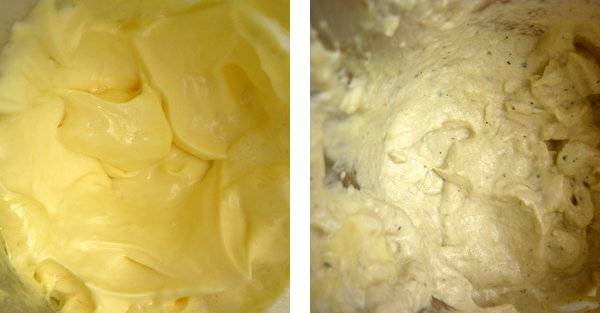
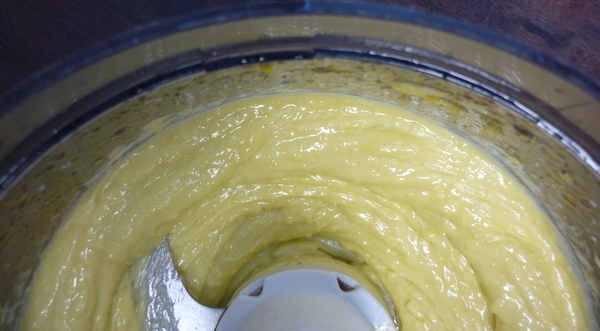
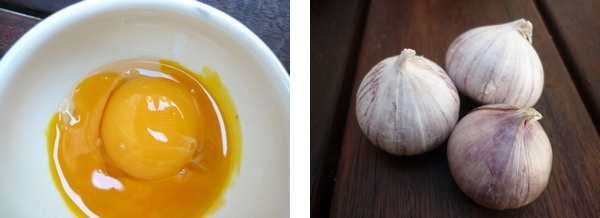
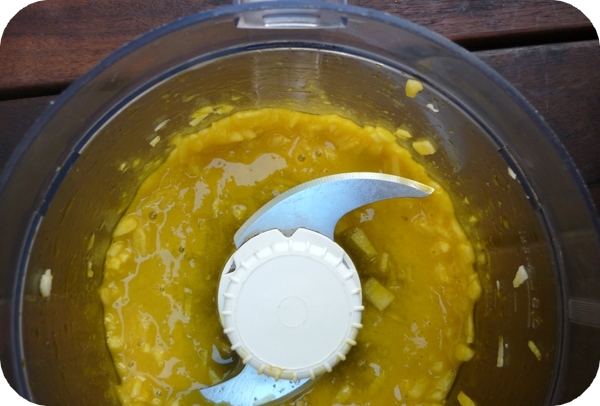
Using a food processor or immersion blender (or a whisk if you want to torture yourself), puree egg yolk until creamy. Add salt and once dissolved, pour the oil, drop by drop, constantly stirring, the way you would to make aioli.
Add the garlic, lemon juice and eggplant and blend together. Serve with pita or crudités, or as part of a meal.
What’s your favourite recipe from your childhood?
One of my favourite things to eat in Spain at the dingy tapas bars we frequented was the kind of aioli that tastes like plastic-y American mayo with some garlic thrown in for good measure. I could drink the stuff, in fact, I’m pretty sure I bought some in a Portuguese supermarket post-Spain and inhaled the whole tub. So any time I had a go at making aioli, I’d just mix mass-produced mayo and garlic. And now that aioli is trendy here, that’s usually what’s served in pubs all around Australia.
I have always shied away from scientific-sounding processes like ‘emulsification’ in cooking so you’ll forgive me if I only got around to making ‘proper’ aioli from scratch about a month ago. I figured it wouldn’t be worth the effort but boy, was I wrong. And what’s more, it goes with pretty much anything savoury – fish, chicken, polenta-crusted potatoes, the list goes on.
To make an aioli you basically do what you would do for a mayonnaise, only using extra virgin olive oil. You blend or mix egg yolks with garlic or herbs until creamy and then, while still mixing, add a large amount of olive oil drop by drop, finishing with a touch of acid like lemon or vinegar. The result is a thick creamy emulsion that will have you licking your fingers with glee, I promise you.
This is a recipe that lends itself to immersion blenders and food processors because the aioli must be constantly in motion or it won’t emulsify. Other than that, it is damn near impossible to stuff it up. You could make it too thick but I’m pretty sure no one would complain if you did and anyway you could just add more lemon, vinegar or water.
Classic Aioli
4 cloves garlic, chopped
2 egg yolks
2/3 cup extra virgin olive oil
½ teaspoon salt
1 Tablespoon of Lemon juice (more if desired)
Turn food processor on to medium. Add garlic and egg yolks and puree until garlic is extremely fine and egg yolks are very creamy.
Add salt and once dissolved, pour the oil, drop by drop or in a very slow stream into the still running food processor. You may want to use a measuring jug to pour from. It should take a full 5 minutes to add the 2/3 cup oil to the egg and garlic blend.
Add the lemon and blend some more. Transfer to a bowl, chill and serve.
About me
 Sharing easy recipes, hunting down the best coffee. Honest accounts, nothing too serious. Read more...
Recent Posts
- Aerpress means no more shit #travelcoffee and #workcoffee
- Why I write and four ace bloggers who do it better
- The five best things I ate in London
- Shoreditch is awesome, airports are not
- I quit sugar? Do I bollocks.
- Cubao Street Food, Alexandria
- The Reformatory Caffeine Lab, Surry Hills
- Brewtown Newtown
- Stay caffeinated over Christmas
- Gumption by Coffee Alchemy, Sydney CBD
Popular posts this month…
 Sparkling Long Black posted on May 10, 2011
  Review – Philips Saeco Intelia posted on January 10, 2012
  Cheat’s Dulce de Leche posted on January 7, 2011
  The quest for Mex part 2 – Feisty Chicken Burritos posted on December 21, 2010
  Kosher Whole Orange Cake posted on July 5, 2011
  Lau’s Ultimate Corn Fritters and the four fritter truths posted on March 1, 2013
  Sri Lankan Spinach with Coconut posted on December 10, 2010
  Café review – Bourke Street Bakery, Marrickville posted on November 22, 2011
Disclaimer:
All opinions in this blog are mine, an everyday, real-life person. I do not accept payment for reviews and nor do I write sponsored posts. I do not endorse the content of the comments herein.


