The point of the lamington is to use up old sponge cake. Who in the hell has a heap of old cake lying around? No one. That’s why I neither like nor understand the lamington; the basic concept baffles me. In fact, I’d never even made a batch before this post.
The point is, whether it makes sense or not, that is what a lamington is. I will defend to my death the authentic/traditional ‘Strayun lamington recipe as made perhaps not on its first occasion but ever after.
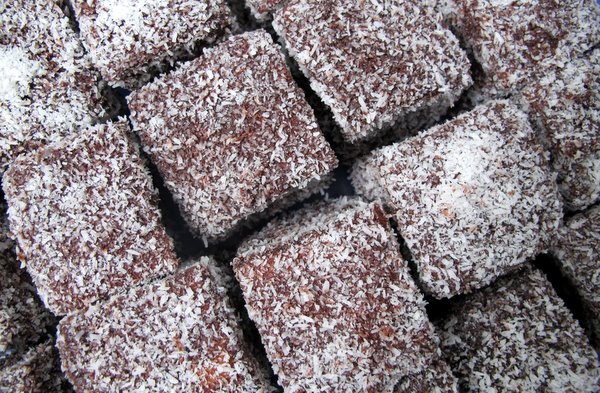
Here’s how it goes- sponge cake, chocolate icing and dessicated coconut. I cannot stress this enough. It is integral to both the flavour and texture of the lamington. But recently, in trendy cafes and even, shock, horror, on food blogs (even ‘Strayun ones), I have come across furry, rather than fuzzy lamingtons – they have been using shredded coconut, not dessicated. For shame.
In actual fact, my recipe is not even a recipe for lamingtons, it’s pretty much a recipe for icing. Because if the point of the lamington is to use up stale cake, you might as well just buy a sponge cake from the shops and be done with it. I did. Even so, this recipe is truer to form than the spiky, echidna-like lamingtons I’ve had the displeasure to witness in recent times.
You may add whipped cream or some raspberry or strawberry jam in the centre of the lamington, no worries mate, but for God’s sake, stick to the tried and true recipe. Don’t mess with a good thing! After all, it is Australia Day.
Lamingtons (icing recipe from the Australian Women’s Weekly)
1 x 450g sponge cake (mine was a pack of two rectangular sponges)
4 cups icing sugar mixture
1/2 cup cocoa powder
1 cup milk
15g butter
2 cups dessicated coconut
Sift the icing sugar and cocoa in a large heat proof bowl. Stir in the milk and add the butter.
Over a simmering saucepan (double boiler) stir the mixture until the butter melts and you have a smooth icing. Set aside.
Cut the sponge into even pieces with a sharp knife, I got 24 pieces in total.
Coat the sponge with icing, letting the excess drip off, coat in coconut and leave to rest. See below for more details.
embedded by Embedded Video
YouTube
Happy Australia Day!
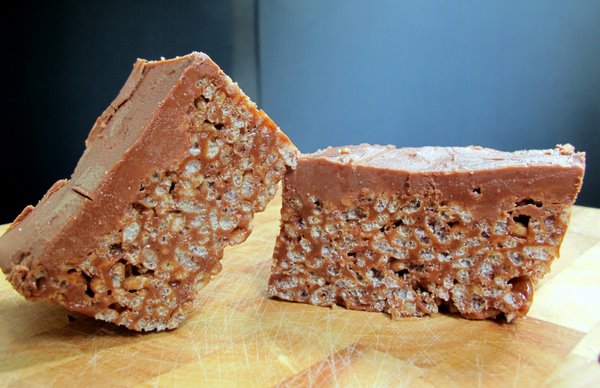
You know, I’d like to just open this post by saying that mars bar slice kicks chocolate crackles’ arse. If there was ever a fight to the death (a fight of deliciousness, that is) between treats containing rice bubbles, there would be no contest. Maybe it has something to do with copha, that gritty vegetable shortening that holds a chocolate crackle together (ew). Or maybe it’s the contrast between chewy/crunchy/salty/sweet that mars bar slice has. And if melting down a a shitload of mars bars and butter doesn’t seem decadent enough, maybe it’s that extra layer of chocolate on top that really seals the deal.
Whatever the reason, mars bar slice is the eternal crowd pleaser. Unless your’e diabetic. Or lactose intolerant. or don’t like chocolate. OK well, let’s just say we’re in a crowd of sweet tooths with no discernable allergies.
Mars Bar Slice from Exclusively Food
120g butter
270g Mars Bars
1 1/2 tablespoons (30ml) golden syrup
3 3/4 cups (120g) rice bubbles
For the topping:
225g milk chocolate
20g butter
Boiling water
Grease a 16cm by 21cm baking tray/pyrex dish, or anything roughly that volume.
Place butter, Mars Bars and golden syrup in a saucepan over medium heat. Stir constantly with a whisk. You will know when it’s ready as not only will the lumps of nougat melt, but the whole mixture will suddenly gel together, thicken and become smooth and homogeneous. Turn off the heat.
Add the rice bubbles to the Mars Bar mixture and gently stir to combine, trying not to crush the rice bubbles.
Melt the chocolate and butter in the microwave, stirring every so often until smooth and liquid.
Press mixture firmly into the greased pan. Spread slice with topping and refrigerate overnight.
To loosen the slice, fill your sink with boiling water and place the slice, in its tray in the sink for a couple of minutes to loosen it. Turn it out onto a chopping board and slice to the desired sized pieces, dipping a sharp knife in a cup of boiling water in between slices. the slice will be quite hard, either wait 10 minutes or cut with a sawing motion. Store in an airtight container in the refrigerator.
Tip: You could use baking paper rather than greasing the pan, this will be a hell of a lot easier as long as you have some overhang.
Want to know more about the death by chocolate blog hop? Find out more more over at The Hungry Australian.
As the weather cools down, the rain pounds on the roof and my kitchen floods at regular intervals, it feels like the time to indulge in a slice of something sweet with a cup of something hot, the eternal combination of comfort seekers everywhere.
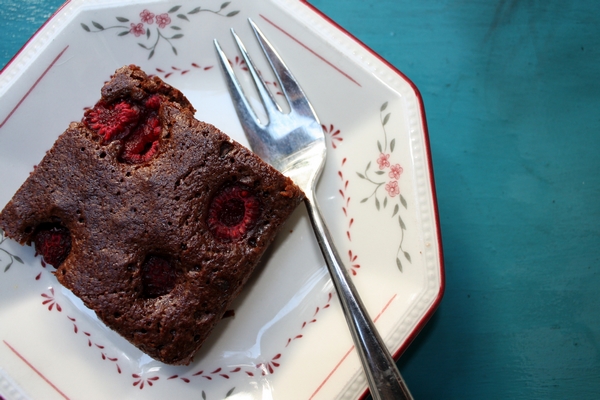
These brownies are ideal for weathering the storm – quick, easy and you don’t even have to have chocolate on hand to make them. They’d be perfect with a cup of tea if tea interested me in the least, but I prefer them with a coffee or a big glass of cold milk. That way I can either be an incredibly grown up or a 6 year old child, whichever seems easiest at the time.
Cocoa Raspberry Brownies (Adapted from The Stone Soup)
150g butter
1¼ cups 255g caster sugar
¾ cup (80g) cocoa powder
1 teaspoon vanilla extract
2 eggs
½ cup (75g) plain flour
1 cup frozen raspberries or morello cherries
Preheat oven to 150°C. Line a slice tin with two sheets of baking paper so that it overlaps the sides.
Melt butter in a medium saucepan. When just melted, remove from the heat and stir in the sugar and cocoa powder, ensuring there are no lumps.
Add the vanilla extract and eggs and mix well. Gently stir in the flour until just combined, being careful not to over mix. Pour the mixture into the lines pan. Dot the brownies with frozen raspberries.
Bake for 45 minutes or until the top feels just set. Cool in the tin, cut and then serve.
What’s your favourite wet weather recipe?
Biscotti is one of those treats that I can’t get enough of but I always forget how time consuming it is. I’ll walk past a packet of biscotti in a supermarket or a deli and think to myself ‘Six dollars a packet? That’s ridiculous!’ I’m frugal by nature but also quite lazy, so every few years I’ll bake up a batch. And that’s when I remember what a pain in the arse baking can be.
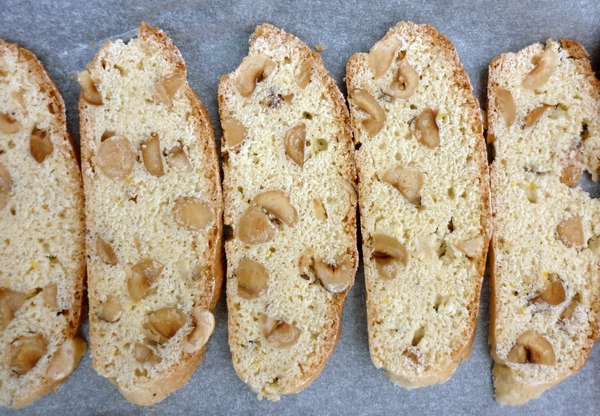
The word biscotti comes from the latin for ‘twice baked’ and this is the time consuming part. After mixing up a dough, forming it into two logs and baking them for nearly an hour, the logs are thinly sliced and then each slice needs to be dried out in the oven.
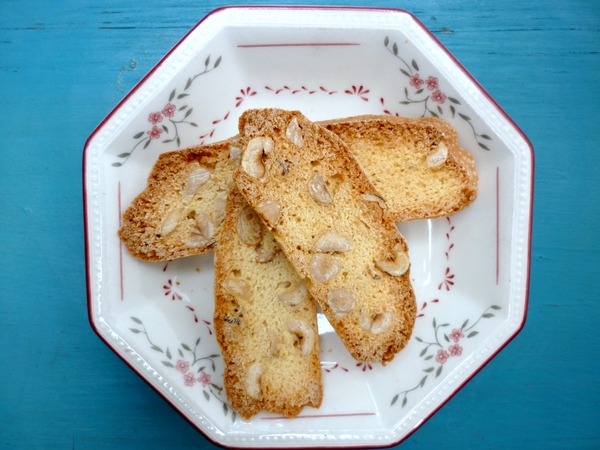
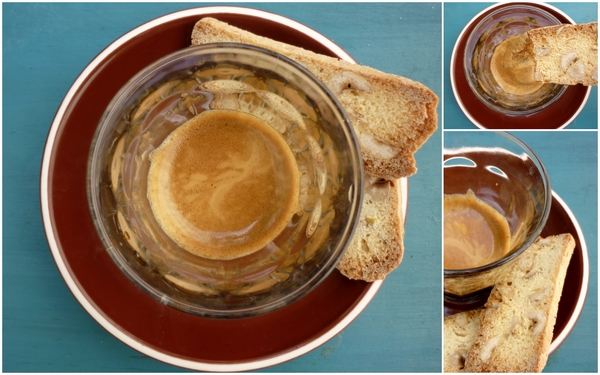
 Biscotti are slender brittle fingers of biscuit with chunks of nuts in them, perfect to dunk in coffee. They are crunchy and addictive with a slight egg taste as the dough is made with eggs, flour and sugar (no milk or butter). Although time consuming, this recipe makes a large batch. If you slice them finely, you will get around one hundred biscotti.
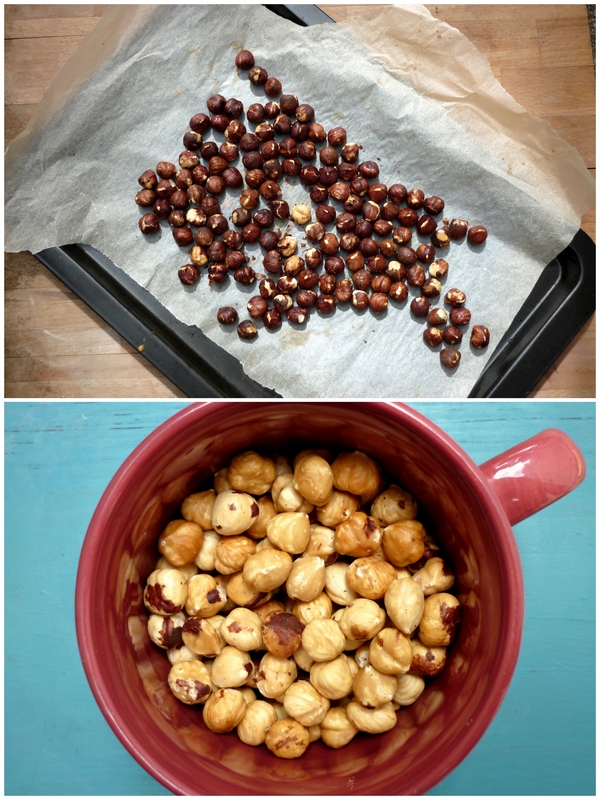
This recipe has been in my recipe folder for ages, so I assume that like most of my baking recipes from my teenage years its from an Australian Women’s Weekly cookbook. Unfortunately I can’t remember the specific cookbook. The original recipe had a cup of hazelnuts, my additions were chocolate and lemon zest, making half the biscotti hazelnut chocolate and the other half hazelnut and lemon. I also roasted the hazelnuts to intensify the flavour and make the skins easier to remove, making them less bitter.
Hazelnut Biscotti two ways (adapted from AWW)
3 eggs
1 cup caster sugar
1 tsp vanilla extract
2½ cups plain flour
½ cup self raising flour
1½ cups hazelnuts (that’s about how much was in the packet I bought)
½ cup chocolate slivers (I chopped some 50% cocoa lindt as its nice and thin and not too dark)
The zest of half a lemon
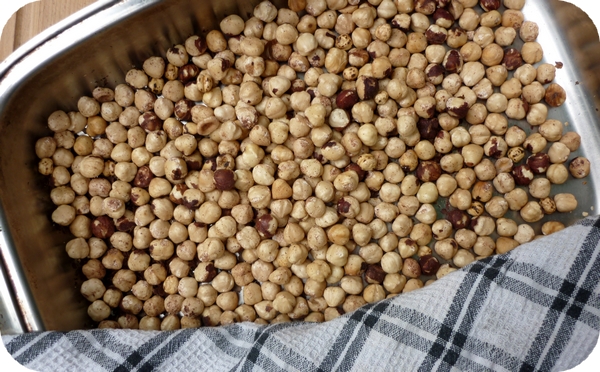
In a hot oven roast the hazelnuts for about 15 minutes or until fragrant and brown. Leave to cool for half an hour. As the nuts cool they will shrink slightly and their skins will become loose. When cool, rub the skins off with a tea towel.
Turn the oven down to 160°c. Whisk sugar, eggs and vanilla essence together in a large bowl. Stir in flours to a sticky dough.
Divide the dough and put half in another bowl. Add 1 cup of roasted hazelnuts and the lemon zest to one bowl and ½ cup roasted hazelnuts and half a cup of chocolate shards in the other bowl. Mix in the chunks and form the dough into two logs, one of each flavour. Place on a paper-lined baking tray and bake for 45 minutes.
Allow to cool until just warm, slice thinly into 90-100 pieces. Spread the slices on baking trays and bake for 5-10 minutes each until dried out. Cool and serve.
It’s no secret that Christmas is all about eating, and not just the day of. People often make (or buy) and give treats as gifts, anything from shortbread to jam; rich, wintery foods that will keep for months but when you think abou it, make little sense in the context of an Australian (summer) Christmas. Let’s face it, there are only so many chutneys and flavoured oils you can fit in your pantry. I never really understood why people would make food to give on the most food-laden day of the year. It’s certainly not something I could be bothered doing.
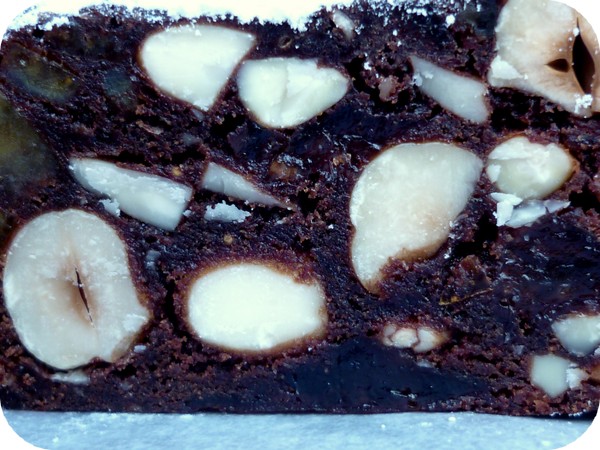
That said, I’m totally in favour of tasting the fruits of someone else’s labour, especially baked goods. Christmas baking is a tradition that many hold dear, including my friend Gina who spent her spare time this week baking fruit mince pies and the traditional Italian Christmas treat paneforte, kind of a distilled, nutty fruitcake.
I took great delight in photographing the ‘pan-for-day’ (as we say in a broad Aussie accent) and all its preparations. Neither Gina nor I could pronounce its name to the satisfaction of her Italian housemate, who took the piss out of us incessantly. That was fine by me. I was taking home a mini paneforte for lunch!
Gina had to ring her parents numerous times to get the correct recipe as although it was written down originally, it has undergone endless metamorphoses and adaptations to become what it is today. So this post is significant in that the recipe is finally written down. Next year Gina will have it on hand, and so will anyone else who wants to make it…
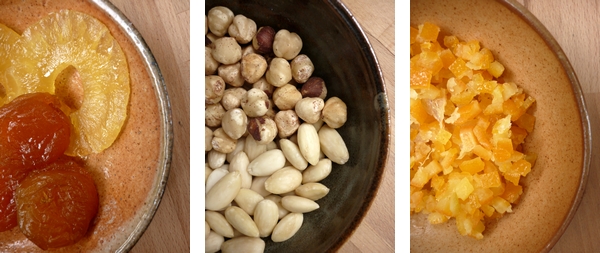
Paneforte is quite flexible. You can use any glacé fruit and any nuts you like, just make sure you have the right amounts. If you don’t feel like chopping nuts, you can leave them whole for an ‘extra chunky’ paneforte or pulse them (briefly) in the food processor. If you can only find dried fruit, not glacé you can use it but keep in mind the paneforte will be drier. Gina’s best tip? Buy peeled hazelnuts. Peeling hazelnuts is a pain in the arse. And the Aussie twist? Glacé pineapple.
The Tarantos’ Paneforte
125g peeled hazelnuts
125g blanched almonds
60g glacé apricot
60g glacé pineapple
60g chopped mixed peel
2/3 cup plain flour
2 Tablespoons cocoa powder
1 teaspoon cinnamon
60g dark chocolate, coarsely chopped
1/3 cup sugar
½ cup honey
Preheat oven to 160°c.
Roast the almonds and hazelnuts in a baking dish. Once cooled, coarsly chop the nuts, along with the glacé fruit.
Sift flour, cocoa and cinnamon together. Stir to combine. Stir nuts and fruit into dry ingredients.
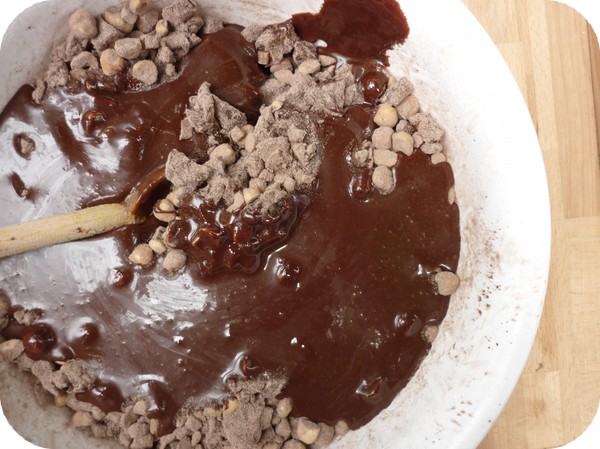
Melt honey and sugar together on a low heat. Bring almost to the boil and simmer for 5 minutes or until thick and syrupy. Take off the heat, let cool for 5-10 minutes and then stir through chocolate until melted.
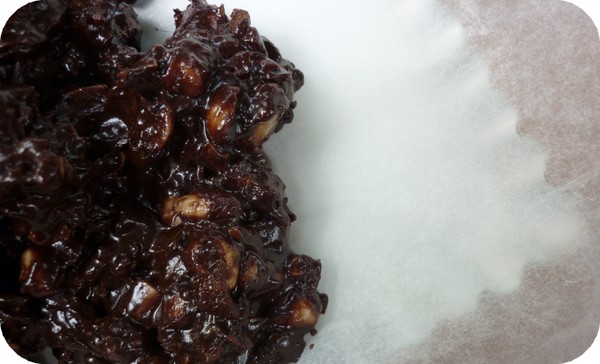
Pour wet ingredients into dry and stir until completely combined. This will take a lot of elbow grease!
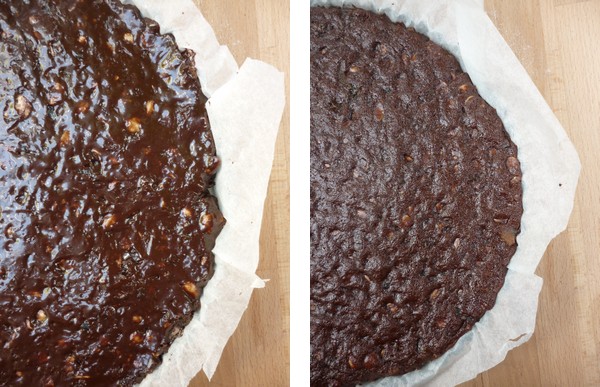
Line a 20cm loose-bottomed round quiche tine with baking paper. This is essential – if you just grease the tin the paneforte is sure to stick. Dollop the mixture onto it and cover with a second sheet of baking paper. Press the mixture down to flatten it, right to the edges, to get rid of any air bubbles. Cut off excess paper.
Bake for around 35 minutes or until the paneforte has just lost its sheen. If you overcook it or even burn it, just leave it in an airtight container for a couple of days before serving. This will soften it. Lasts 3 months if not exposed to air.
What dish do you most look forward to at Christmas?
Aren’t other peoples’ families zany? It always seems that way to me. When I was a kid, other peoples’ houses were just different; they looked different, smelled different, ran differently. To a six-year-old child, the familiar, their home, has no smell, no particular look, no discernible system of organisation. It just is. Our own environments are the very definitions of normality. To us…
It isn’t until we find ourselves in someone else’s environment that we are forced to realise that our way of doing things is just one way, not the way. It’s easy to criticise the unfamiliar, from the way someone washes the dishes to the way they run their household. And when you move in with people you weren’t brought up with, their ways will almost certainly be at odds with yours, something which you may not have even considered before.
How is all this relevant? Mousse Chocolate (moos cho-ko-let, not moos chok-let), which is what my boyfriend and his family will call this recipe for all eternity, is technically a mistranslation. The name in Portuguese is literally ‘Mousse of Chocolate’. The name has always sounded slightly wrong to me.
But ‘Chocolate Mousse’ would sound wrong to my boyfriend’s ears. In addition, ‘Chocolate Mousse’ to his family is something altogether different from what they prepare, something unbelievably creamy which, to a family that abhors cream, makes it unfitting for their beloved concoction of chocolate, eggs and sugar.
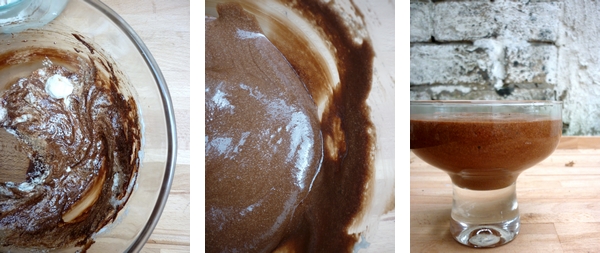
This was my second try at this recipe. The first time I made it I just couldn’t get the chocolate and egg whites to come together while still maintaining the mousse’s light and fluffy texture. I had a theory that without the pure fat of cream I’ve used in every chocolate mousse I’ve ever made, they just weren’t coming together, and that as such microwaved chocolate was more unforgiving. Then I noticed that many recipes call for a small amount of butter. So I bit the bullet and did the double boiler thing, butter and all.
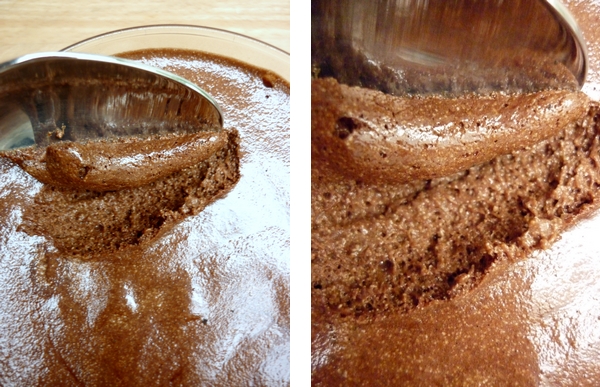
So how was it? Rich? Yes. Creamy? No way. Delicious? Definitely. Mousse Chocolate.
Mousse Chocolate for two
2 eggs, separated
60-80g dark chocolate broken into pieces (I used nestle club but next time I think I’ll use something with a bit more depth of flavour).
1 Tablespoon of butter
2 teaspoons of sugar (optional- I left it out but in hindsight I think it needed it)
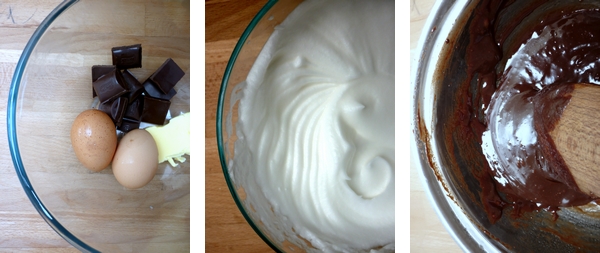
Beat the egg whites to stiff peaks in a completely clean and dry bowl. Set aside.
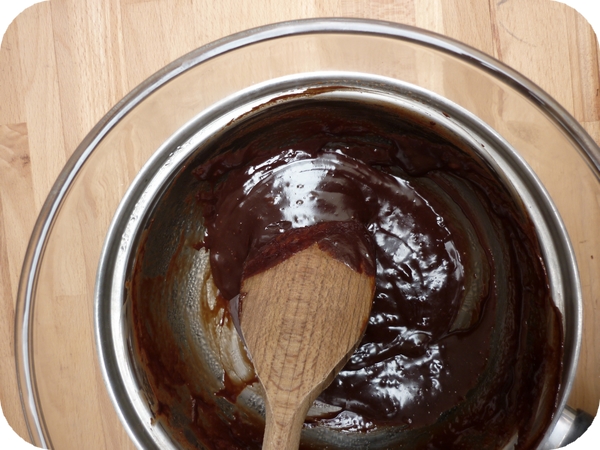
Put chocolate in a bowl over a pan of simmering water. Make sure the water is not touching the bowl, the bowl should just be ‘steamed’.
When the chocolate begins to melt, add the butter and sugar if desired. Once melted together, turn off the heat. Stir in egg yolks one at a time, very quickly.
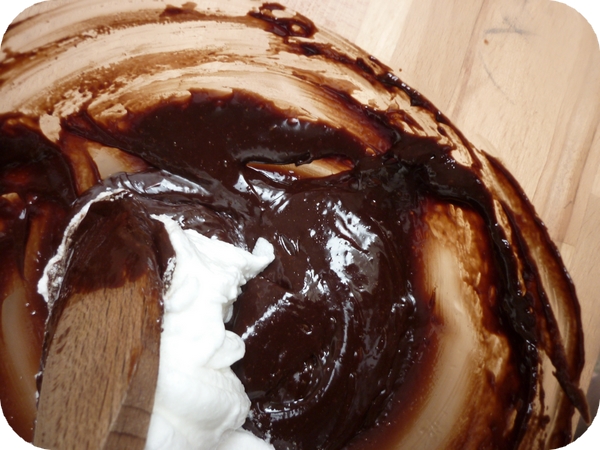
Remove the bowl from the pan and fold in a third of the beaten egg whites. Fold in another third gently and then the remaining third even more gently.
Put mix in container/s, cover with cling film and set for at least four hours.
About me
 Sharing easy recipes, hunting down the best coffee. Honest accounts, nothing too serious. Read more...
Recent Posts
- Aerpress means no more shit #travelcoffee and #workcoffee
- Why I write and four ace bloggers who do it better
- The five best things I ate in London
- Shoreditch is awesome, airports are not
- I quit sugar? Do I bollocks.
- Cubao Street Food, Alexandria
- The Reformatory Caffeine Lab, Surry Hills
- Brewtown Newtown
- Stay caffeinated over Christmas
- Gumption by Coffee Alchemy, Sydney CBD
Popular posts this month…
 The quest for Mex part 2 – Feisty Chicken Burritos posted on December 21, 2010
  Sparkling Long Black posted on May 10, 2011
  Gumption by Coffee Alchemy, Sydney CBD posted on December 13, 2013
  Review – Philips Saeco Intelia posted on January 10, 2012
  Salat Hatzilim posted on January 28, 2011
  Eat. Drink. Blog. Dinner at Kingsley’s Steak and Crab House, Woolloomooloo – 5 November 2011 posted on November 11, 2011
  Rich Portuguese Custard posted on November 29, 2010
  Kosher Whole Orange Cake posted on July 5, 2011
Disclaimer:
All opinions in this blog are mine, an everyday, real-life person. I do not accept payment for reviews and nor do I write sponsored posts. I do not endorse the content of the comments herein.

