I don’t know about you, but travel for me is mostly about food. When I eat the thing from the place in the actual place of the thing, well, that’s not a very articulate way of putting it, but in the words of Maeve O’Meara, it’s a revelation. And there’s no better way to attempt to relive your travel than to eat the thing that you ate in the place of the thing, but this time, eat it at YOUR place.
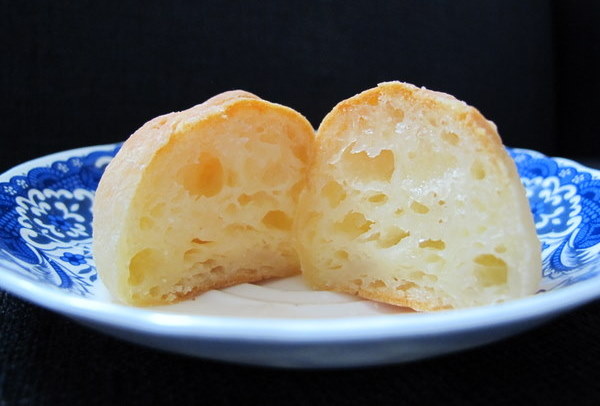
I found myself at a bit of a loose end this week, so I decided to make Pão de Queijo (Cheese Puffs), a typical Brazilian snack/breakfast food which I don’t even particularly like, but I wish I was in Brasil right now and what better way to celebrate that than to bake. The main ingredients are manioc/tapioca starch, cheese, eggs, liquid and fat.
When baked, they look a lot like profiteroles but, although the method is similar, it is a hell of a lot more difficult as the starch makes the dough sticky and you have to knead rather than just stir it. I found this virtually impossible so I would recommend using a food processor. Pão de Queijo has a wonderfully squishy texture and these puffs are yummy straight from the oven or reheated in the microwave.
A quick tip: all the recipes I’ve read say not to let the dough sit (it doesn’t need to rise or anything); either bake it immediately or form it into balls and freeze because if you let it sit, it will magically re-liquidise!
Pão de Queijo (a combination of online recipes, this one and this one were particularly helpful)
2 cups full cream milk
½ cup melted butter
450g tapioca/manioc starch (often called tapioca flour, make sure you get one that has the texture of cornflour rather than the one with the texture of polenta),
Excess tapioca/manioc starch for shaping the dough into balls (you can also use oil or water)
3 eggs
2 cups grated cheese (traditionally queijo de minas, but I used a combination of Colby and Romano, mostly Romano)
Preheat the oven to 200°c.
In a medium pan, bring the milk and butter to the boil. Remove from the heat immediately.
Either take your chances and gradually pour the manioc flour into the pan, stirring constantly or put the manioc flour in the food processor and on a slow speed gradually pour in the hot liquid.
Allow to cool; the dough should be cool enough to knead.
Next, knead the dough or turn the food processor on to a medium speed. Add the eggs, one at a time, incorporating each egg completely before the next egg is added. The dough should be smooth and elastic but still very soft and sticky. Add the cheese and knead well until completely incorporated.
You now have 3 choices – flour your hands with tapioca flour, oil them or dampen them. Then roll the dough into even, 2-3cm balls and place on a baking tray lined with baking paper or a silicone mat.
Bake for about 20 minutes, checking after ten minutes to make sure they are not over browning. They are done when they sound hollow when tapped, as they cool they will soften. Freeze or store in an airtight container, best served warm or reheated for 10 seconds in the microwave.
Makes about 30.
What foods from your travels do you love to cook?
I’ve always had an interest in what people really eat and cook. Not what they say they eat, not what they blog but what they actually eat. The food media that gives me the most satisfaction is that which starts with this very obvious question- what do people eat? It’s why I adore shows like Food Safari and blogs like Smitten Kitchen and The Stone Soup, and also why one of my favourite people to follow on twitter is Pantry sniffer, who tweets entire recipes in 140 characters.
When I started Corridor Kitchen, I stressed that my photos wouldn’t be up to scratch, as my camera is a pretty basic point-and-shoot that doesn’t tend to focus properly. As a result I took hundreds of pictures of each dish. This, along with needing to photograph food in daylight hours meant I had to cook specifically to blog. In other words, I wasn’t blogging my actual daily eats, or even my once-a-week eats.

I’ve recently realised that this runs contrary to the whole ethos of Corridor Kitchen of common sense, cheap and practical food. Since I started blogging, my everyday cooking has become decidedly less creative, and I find our house filled with more baked goods than I’d care not to eat. I want to believe that the creative side of cooking, that intuitive what’s-in-the-fridge/pantry-and-what-can-I-make-from-it approach my mother taught me is blogworthy.
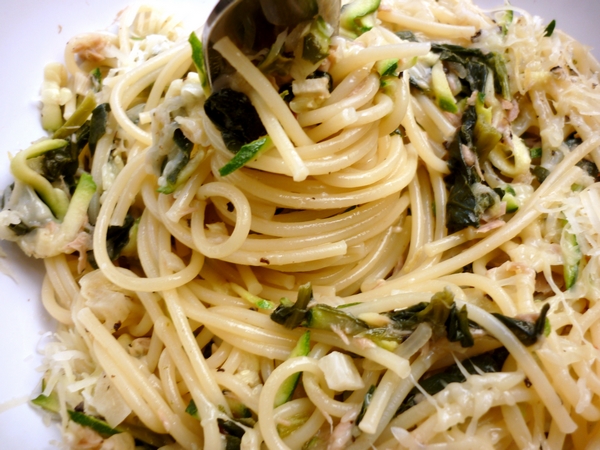
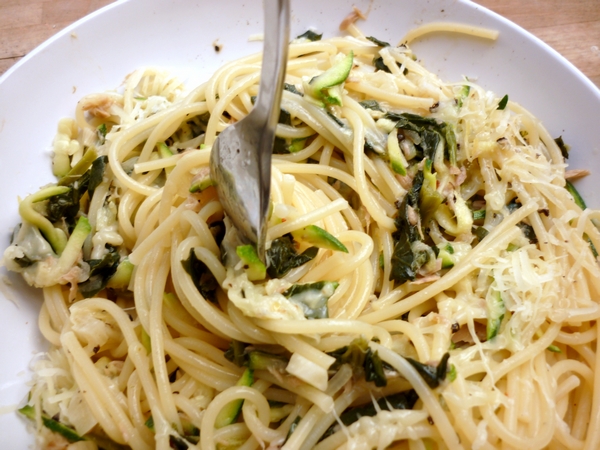
This dish is one I’ve made a lot lately, and something I’ve only ever cooked for myself. It’s made with things I always have on hand and is very flexible . I take my new-old favourite, spaghetti and coat it in a garlicky, lemony sauce with chunks of tuna, zucchini and spinach, sprinkling it with romano and freshly cracked black pepper. The building blocks are pasta, tuna or chicken, garlic, wine dregs, butter and oil, and a hard cheese with any green veggie you like.I always have frozen spinach on hand so I used that, and I had a zucchini this time around but I’ve used green beans, cabbage and even buk choy in the past.
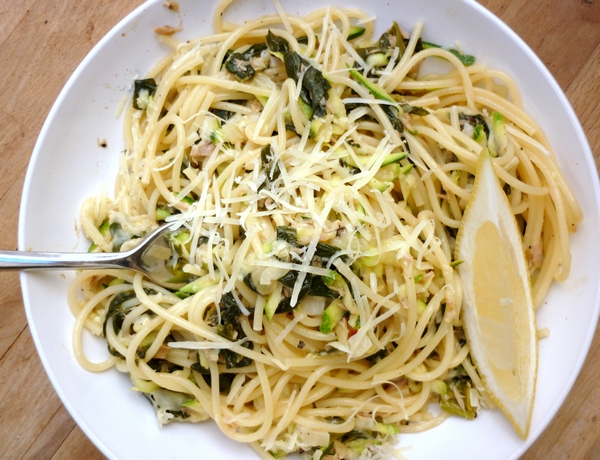
Lau’s Pantry Pasta
(serves 2)
Enough spaghetti for 2 people
A generous dollop of butter
A good slosh of olive oil
1 very small onion, diced
Pinch salt
6 cloves garlic (so about twice as much garlic as onion), finely chopped
Pinch chilli flakes
The zest of half a lemon
1 individual 95g tin of tuna – I used a lemon pepper flavoured one but you can use any kind.
1/2 cup white wine dregs
1 zucchini, grated
80g frozen spinach, defrosted (microwave 1 minute on high)
The juice of half a lemon
Romano and freshly ground pepper, to taste
Put the pasta on to boil as per the packet instructions. I turn the stove up full blast, boil a jug, pour the water into the pan and once it boils, and add salt. When it comes to the boil again, I snap the spaghetti in half and cook for 8 minutes.
Meanwhile, heat the butter and oil in a medium frypan. Add the onion and stir. Once translucent, add the garlic, chilli flakes, salt and lemon zest.
Once this is cooked, add the tuna, a ladleful of the boiling pasta water, the wine and the spinach. Cook a few minutes. Add the zucchini and cook a couple of minutes until soft.
Once cooked, add the drained pasta and some pepper and salt. Stir through while still on the heat. Serve with plenty of romano and freshly cracked black pepper.
What’s your favourite home alone dish?
Yesterday Lorraine over at Not Quite Nigella described the special treat of being given 20 cents to buy something at the school fete and tossing up between honey joys, pikelets, toffees and other assorted goodies, eventually choosing whichever was the biggest. This reminded me of another nostalgic gastronomic occasion – kids’ parties, where the unfettered appetites of small children are allowed to run wild.
 When I was a child, my parents would let me and my brothers have a party with our friends every second year, and we’d always get to choose a cake out of the Australian Women’s Weekly Kids’ Birthday Cake Cookbook, which, incidentally is one of The Age’s most influential Australian Cookbooks. The cake, be it a train, a Disney character, a doll or a swimming pool filled with green jelly (this was way back in the olden days before blue jelly was invented) would take centre stage amongst the mini frankfurts, party pies, sausage rolls, butterfly cakes and fairy bread on the table. This was one of my favourites, I think I had it for my 5th birthday.
Kids’ parties were never the place to worry about nutrition. Many a picture of me graces the family albums wearing a crooked party hat and an insane sugar-fuelled grin, my mouth smeared with tomato sauce and a trail of hundreds and thousands down the front of my party dress. And I wouldn’t have it any other way.
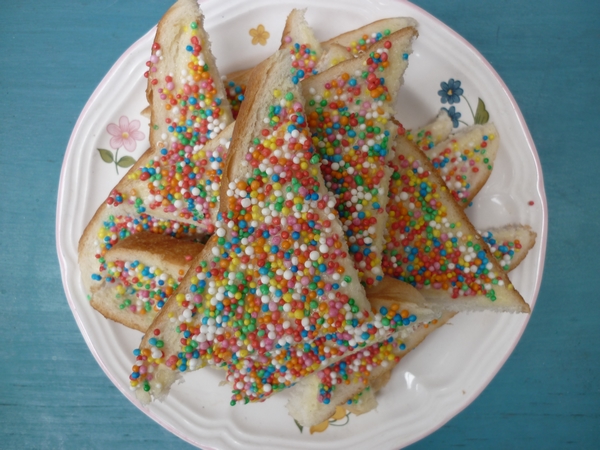
Fairy bread is another of the few Australian/New Zealand recipes, along with Pavlova and Lamingtons that are entirely unique to their region. It’s something you just take for granted and never give a second thought until someone presents a plate of it to you, and then it takes you back to that place of sugar-fuelled madness not exclusively reserved for children. I have wanted to post a recipe for fairy bread for a while but it’s so easy to make it hardly seemed worth recording. Then I realised that there are probably thousands of recipes that have been forever lost because people thought they were ‘too obvious’ or ‘just common sense.’ To be fair, fairy bread has appeared all over the web, even on U.S. superblog The Kitchn, an arm of Apartment therapy so it’s in no danger of being lost any time soon. But I still want to post it myself, because I love it.
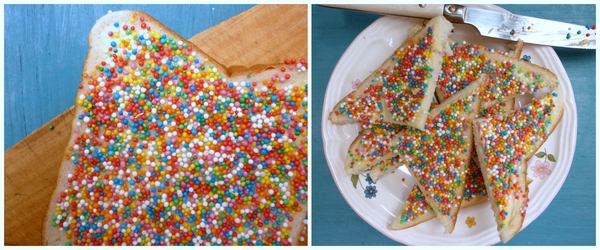 The key to fairy bread is soft, mass produced bread- no other kind will do. Also, make sure you use hundreds and thousands, the round, crunchy rainbow sprinkles rather than the flat ones. Always be sure to spread the butter all the way to the crust. And finally, rather than sprinkling the hundreds and thousands over the thinly-buttered bread, pour them onto a plate and dip the bread in, allowing the sprinkles to stick.
Fairy bread
1 loaf of fresh, soft, white bread
Softened butter (or margarine if you must)
1 large packet of hundreds and thousands
Pour the hundreds and thousands into a plate or flat bowl. Spread as many slices of bread as you like with a layer of butter.
Dunk the bread into the hundreds and thousands, butter side down. Shake off any excess. Cut the bread into four triangles.
Serve to whoever is closest. It’ll be demolished in 5 minutes flat.
What’s your favourite childhood party food?
About me
 Sharing easy recipes, hunting down the best coffee. Honest accounts, nothing too serious. Read more...
Recent Posts
- Aerpress means no more shit #travelcoffee and #workcoffee
- Why I write and four ace bloggers who do it better
- The five best things I ate in London
- Shoreditch is awesome, airports are not
- I quit sugar? Do I bollocks.
- Cubao Street Food, Alexandria
- The Reformatory Caffeine Lab, Surry Hills
- Brewtown Newtown
- Stay caffeinated over Christmas
- Gumption by Coffee Alchemy, Sydney CBD
Popular posts this month…
 Sparkling Long Black posted on May 10, 2011
  Review – Philips Saeco Intelia posted on January 10, 2012
  Kosher Whole Orange Cake posted on July 5, 2011
  Cheat’s Dulce de Leche posted on January 7, 2011
  The quest for Mex part 2 – Feisty Chicken Burritos posted on December 21, 2010
 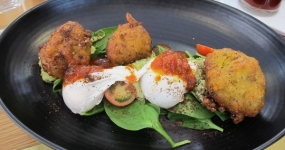 Lau’s Ultimate Corn Fritters and the four fritter truths posted on March 1, 2013
  Café Review – Petty Cash Cafe, Marrickville posted on May 31, 2011
  Salat Hatzilim posted on January 28, 2011
Disclaimer:
All opinions in this blog are mine, an everyday, real-life person. I do not accept payment for reviews and nor do I write sponsored posts. I do not endorse the content of the comments herein.

